
Intro
To provide a bit more information about ship movements and communication on my Drierivierenpunt live stream I’ve installed a marine VHF scanner alongside the camera.
Table of Contents
Required items
If you’d like to build your own you need a couple of items to get this working.
- A SBC. I’ve used an obsolete Orange Pi Zero. (But a Raspberry Pi 1/2/3/4 would work better because of GPU acceleration)
- A software defined radio. I’ve used a basic RTL2832U RTL-SDR
- RTL-Airband to scan the frequency band
- VHF/UHF antenna
Armbian
Download Armbian
Download Armbian (for Orange Pi Zero) to get a basic setup going and install the following dependencies
sudo apt install build-essential cmake libmp3lame-dev libshout3-dev libconfig++-dev libfftw3-dev librtlsdr-dev libsoapysdr-dev soapysdr-module-rtlsdrRTL-Airband
Checkout the RTL-Airband source
git clone https://github.com/charlie-foxtrot/RTLSDR-Airband.git
cd RTLSDR-Airband
git checkout unstable
Compile the source with Narrow FM and SoapySDR support
mkdir build && cd build
cmake -DPLATFORM=armv7-generic -DNFM=1 -DRTLSDR=1 -DSOAPYSDR=1 -DPULSEAUDIO=0 ../
make
Install RTL-Airband
sudo make installBlacklist kernel drivers
Blacklist a couple kernel default RTL drivers
sudo nano /etc/modprobe.d/blacklist-rtl8xxu.confPaste this into that file
blacklist dvb_usb rtl8xxu
blacklist rtl2832
blacklist rtl2830
Edit configuration file
After it installs edit the default configuration file located at:
sudo nano /usr/local/etc/rtl_airband.confAnd replace it with the following configuration settings
fft_size = 512; #OPi Zero couldn't go any higher (buffer overflow)

devices: ({
  #type = "rtlsdr"; #uncomment to enable rtl-sdr driver
  #index = 0;
  type = "soapysdr"; #uncomment to enable soapysdr driver
  device_string = "driver=rtlsdr,rtl=0";
  gain = 20;
  mode = "scan";
  sample_rate = 1.8;
  antenna = "RX"
  buffers = 20;
  channels:
  (
    {
      squelch_snr_threshold = 10;
      freqs = ( 156.8, 156.2, 160.8, 157.1, 161.7, 156.575, 156.725, 156.975, 161.575 );
      modulation = "nfm";
      labels = ( "Nood", "Heerjansdam Schip", "Heerjansdam Wal", "Merwedebrug Schip", "Merwedebrug Wal",  "Stadsbrug", "Jachthavens", "Dordrecht Schip", "Dordrecht Wal" );
      outputs: (
          # IceCast server
        {
          disable = false; #to disable set to true
          type = "icecast";
          server = "127.0.0.1";
          port = 8000;
          mountpoint = "local";
          name = "Drierivierenpunt";
          genre = "Marine";
          username = "source";
          password = "password";
          send_scan_freq_tags = true;
          description = "IceCast Server";
        },

          # BroadCastify server
        {
          disable = true; #to enable set to false
          type = "icecast";
          server = "audiox.radioreference.com";
          port = 80;
          mountpoint = "broadcastify-mountpoint";
          name = "broadcastify-name";
          genre = "broadcastify-genre";
          username = "source";
          password = "broadcastify-password";
          send_scan_freq_tags = true;
          description = "broadcastify-description";
        }
      );
    }
  );
 }
);
Parameters
RTL-Airband supports two modes
- Scan – Scan a range of predefined frequenties and pipe them into a single audio channel
- Multichannel – Watch a range of channels and pipe them into multiple audio channels
As you can see in my configuration file I’ve set it to scan mode. There are a few things you need to change for your particular use case. Obviously you need to set your own frequencies and labels but mainly the following settings need to be adjusted for each individual user:
- Gain – Receiver sensitivity. Too low, you won’t receive any signal. Too high results in a lot of static noise.
- Freqs – Frequency list of AM / NFM channels of interest.
- Squelch – Noise reduction level. Set to -1 per channel for automatic mode. Or manual is a certain channel is too strong
Finetuning
To verify if all channels are set to the right gain and squelch mode run RTL-Airband in the foreground and verify that no particular channel is too strong so that RTL-Airband doesn’t ‘sticks’ to that particular channel.
rtl_airband -fWhich gives the following result
 156.800

 173/109  161.575
 129/109  161.575
 133/110  156.800
 165/110  156.800
 185/155  156.200
 349/155  156.200
 458/121* 160.800
 186/121  160.800
 205/123  157.100
 164/123  157.100
 177/113  161.700
The first column indicates the received signal snr, second column the amount of squelch applied and the third column the active frequency. If a signal is applicable for being sent to Icecast or Broadcastify an asterisk is attached as you can see at frequency 160.800. If a signal is too strong you will see asterisks continuously and you have to lower the gain or raise squelch.
Systemd
When the settings are eventually to your liking it’s time to register RTL-Airband as a systemd service so that it will launch on a restart. Create a systemd configuration file for RTL-Airband by isseuing the following command
sudo nano /etc/systemd/system/rtl_airband.serviceAnd paste the following line
[Unit]
Description=SDR AM/NFM demodulator
Documentation=https://github.com/charlie-foxtrot/RTLSDR-Airband.git/wiki
Wants=network.target
After=network.target

[Service]
Type=simple
ExecStart=/usr/local/bin/rtl_airband -Fe -c /usr/local/etc/rtl_airband.conf
# The program may exit only due to startup failure (eg. misconfiguration)
# or due to failure of all SDR devices (eg. disconnection). In either case,
# there is no point to restart it, because it would fail once again.
Restart=no

[Install]
WantedBy=multi-user.target
Close and save out of the file and enable the RTL-Airband systemd service
sudo systemctl daemon-reload
sudo systemctl enable rtl_airband.service
Broadcastify
Final result of my setup can be heard at Broadcastify (Dutch)
Icecast2
To use a local Icecast2 service instead of Broadcastify follow these steps.
sudo apt update -y && sudo apt upgrade -y
sudo apt install icecast2 -y
A screen appears asking you if you’d like to configure Icecast2. Enter “Yes”
- Icecast2 hostname: localhost
- Icecast2 source password: <enter a password>
- Icecast2 relay password: <enter a password>
- Icecast2 administration password: <enter a password>
To start the Icecast2 service and enable it on startup
sudo systemctl start icecast2
sudo systemctl enable icecast2
Check is the Icecast2 service is running
sudo systemctl status icecast2And finally point your browser at http://<IP_ADDRESS_OF_SDR>:8000 to view the incoming stream under “Mountpoint list”
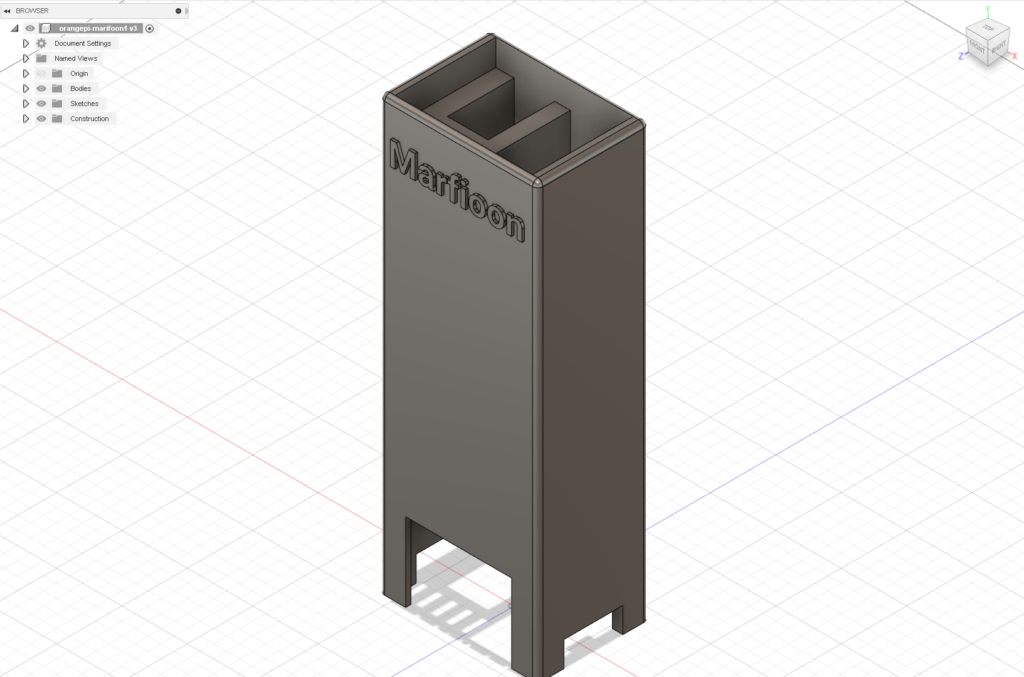
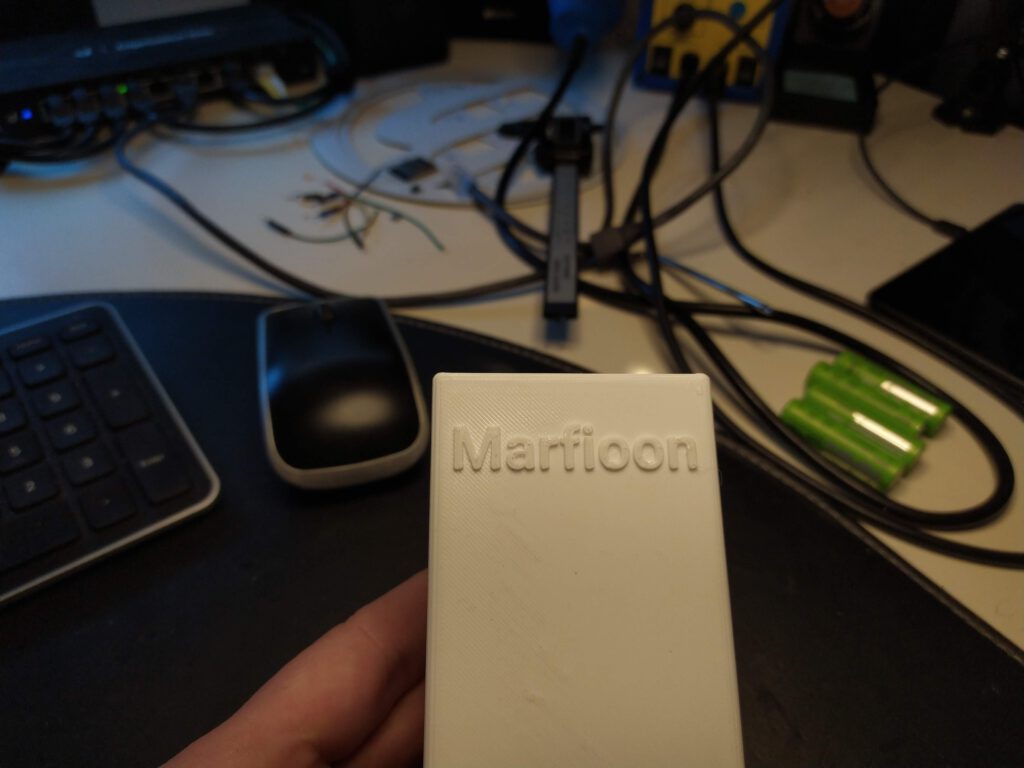
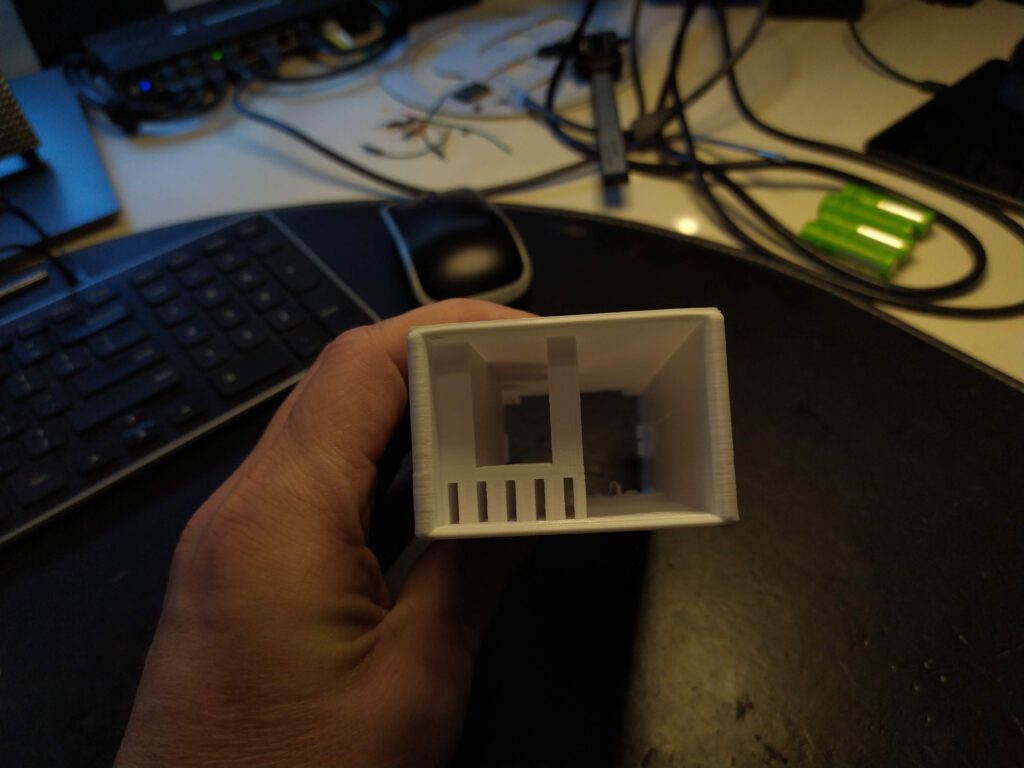
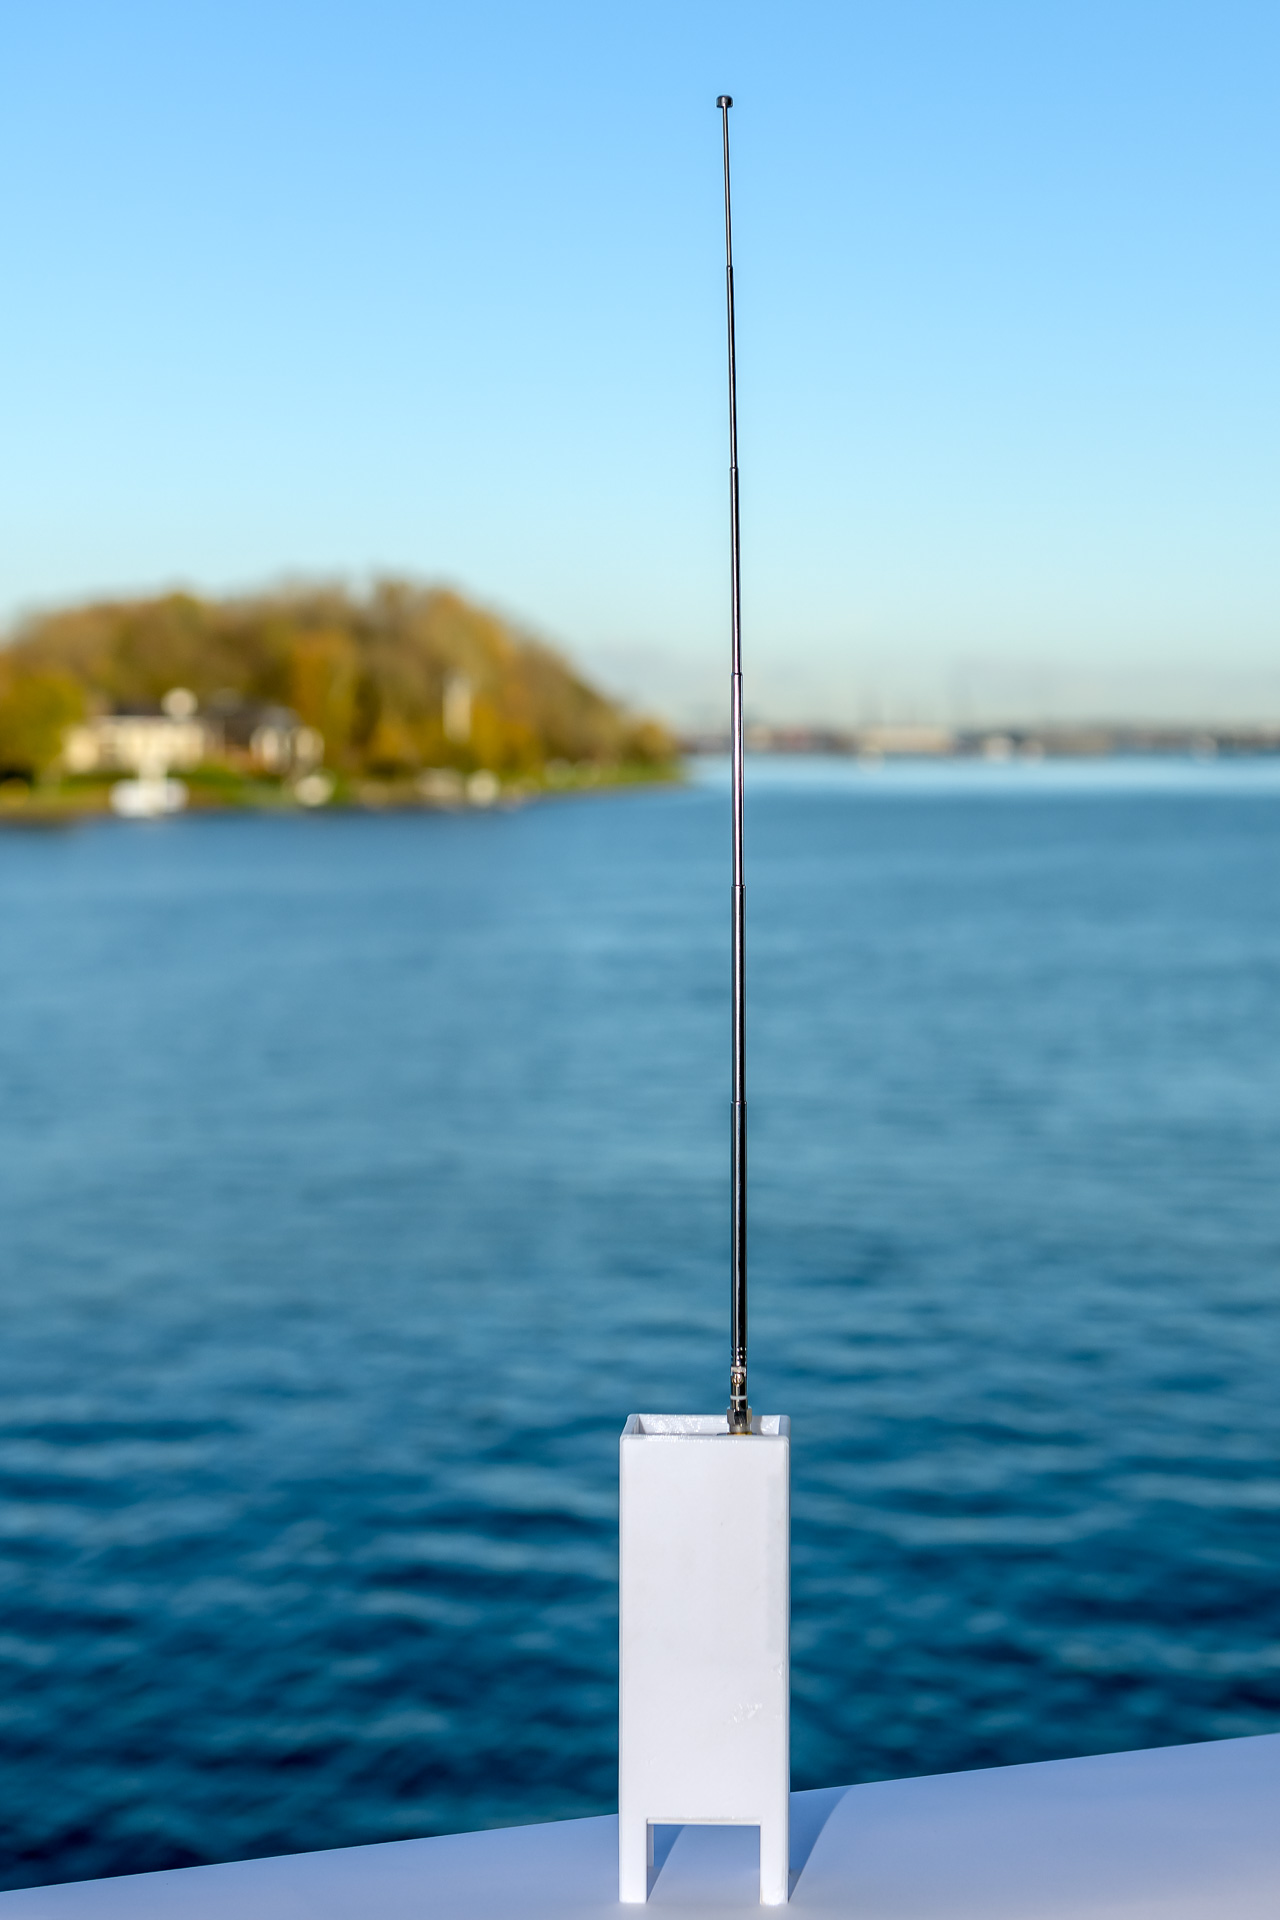
Enclosure
An optional step i took is to design an enclosure for the Orange Pi Zero and the RTL-SDR. The STL can be downloaded here.
PayPal
If you like my work, please consider donating


Great stuff for Marine VHF Audio Sharing… https://wiki.radioreference.com/index.php/Broadcastify/RTLSDR-Airband
That was one of the guides i used to set this whole thing up
Could you post or upload STL file? Thanks.
You can download the stl here
I have never heard anything. duh. 🙂 But they all speak dutch,so.. what’s the difference. 🙂 Thanks Wim. 🙂